


Dismantling a stairlift is done in several stages. Depending on the stairlift type, the chair is often removed first. Some stairlifts have computer programs which won’t allow them to be driven off the rail unless they are in engineering mode, so these can be more difficult to dismantle without a professional. See our stairlift removal page for more information.
But most models can simply be driven off the top of the rail manually. Before this can be done, you’ll need to clear the path. This usually means removing the end stopper and anything else in the way. Here’s a quick video showing the dismantling of the Stannah 600. As you can see at the start of the video, the end cap is removed first. This allows you to remove the physical stopper, the electrical connections and the slowing/stopping ramp.
Dismantling A Stairlift – No Power?
If there’s no power to your stairlift, you’ll need to make sure the batteries are charged or changed before you can dismantle it. If the stairlift hasn’t been in use, batteries can discharge and run flat. Plug in the charger and leave for several hours to charge the batteries. If it isn’t charging, it may be you need stairlift battery replacement.
We have created a few videos explaining stairlift battery replacement on our YouTube channel here. Each make and model is slightly different, so you can also check your user manual for battery replacement instructions.
You’ll definitely need power to dismantle a stairlift because the stairlift chair has safety features to prevent it being released accidentally.
Remove the stairlift carefully, as it is very heavy. It is advised to use two people for removing the stairlift from the rail. Use the remote control to drive it off the end of the rail, and be ready to catch it.
Dismantling A Stairlift – The Rail Sections
Depending on your staircase, you may have either a straight or a curved rail. A straight stairlift is generally easier to remove because the rail is simpler. Rails are in sections, so once you have unscrewed the rail it should pull apart. With the stairlift in the above video (Stannah 600) there’s a plate on the underside of the rail, joining each section. Remove the joining plate to separate the rail sections, as shown in the video.
If you have a curved rail, sections can be joined with a metal pin and draw bolts behind the rail. These need to be removed first. Here’s a video showing the dismantling of a Stannah 260 (curved stairlift).
Dismantling A Stairlift – Remove Panels To Expose Screws
The stairlift rail is screwed into the staircase treads. Screws go through the carpet into the wood. To access the screws you’ll need to remove any faceplates or panels which are covering them. This can usually be done quite easily with a flat headed screwdriver, or simply pull them off.
Once you find the screws, you can unscrew each section of the rail. It can be helpful when pulling rail sections apart to keep a section attached to the stairs to give you more traction.
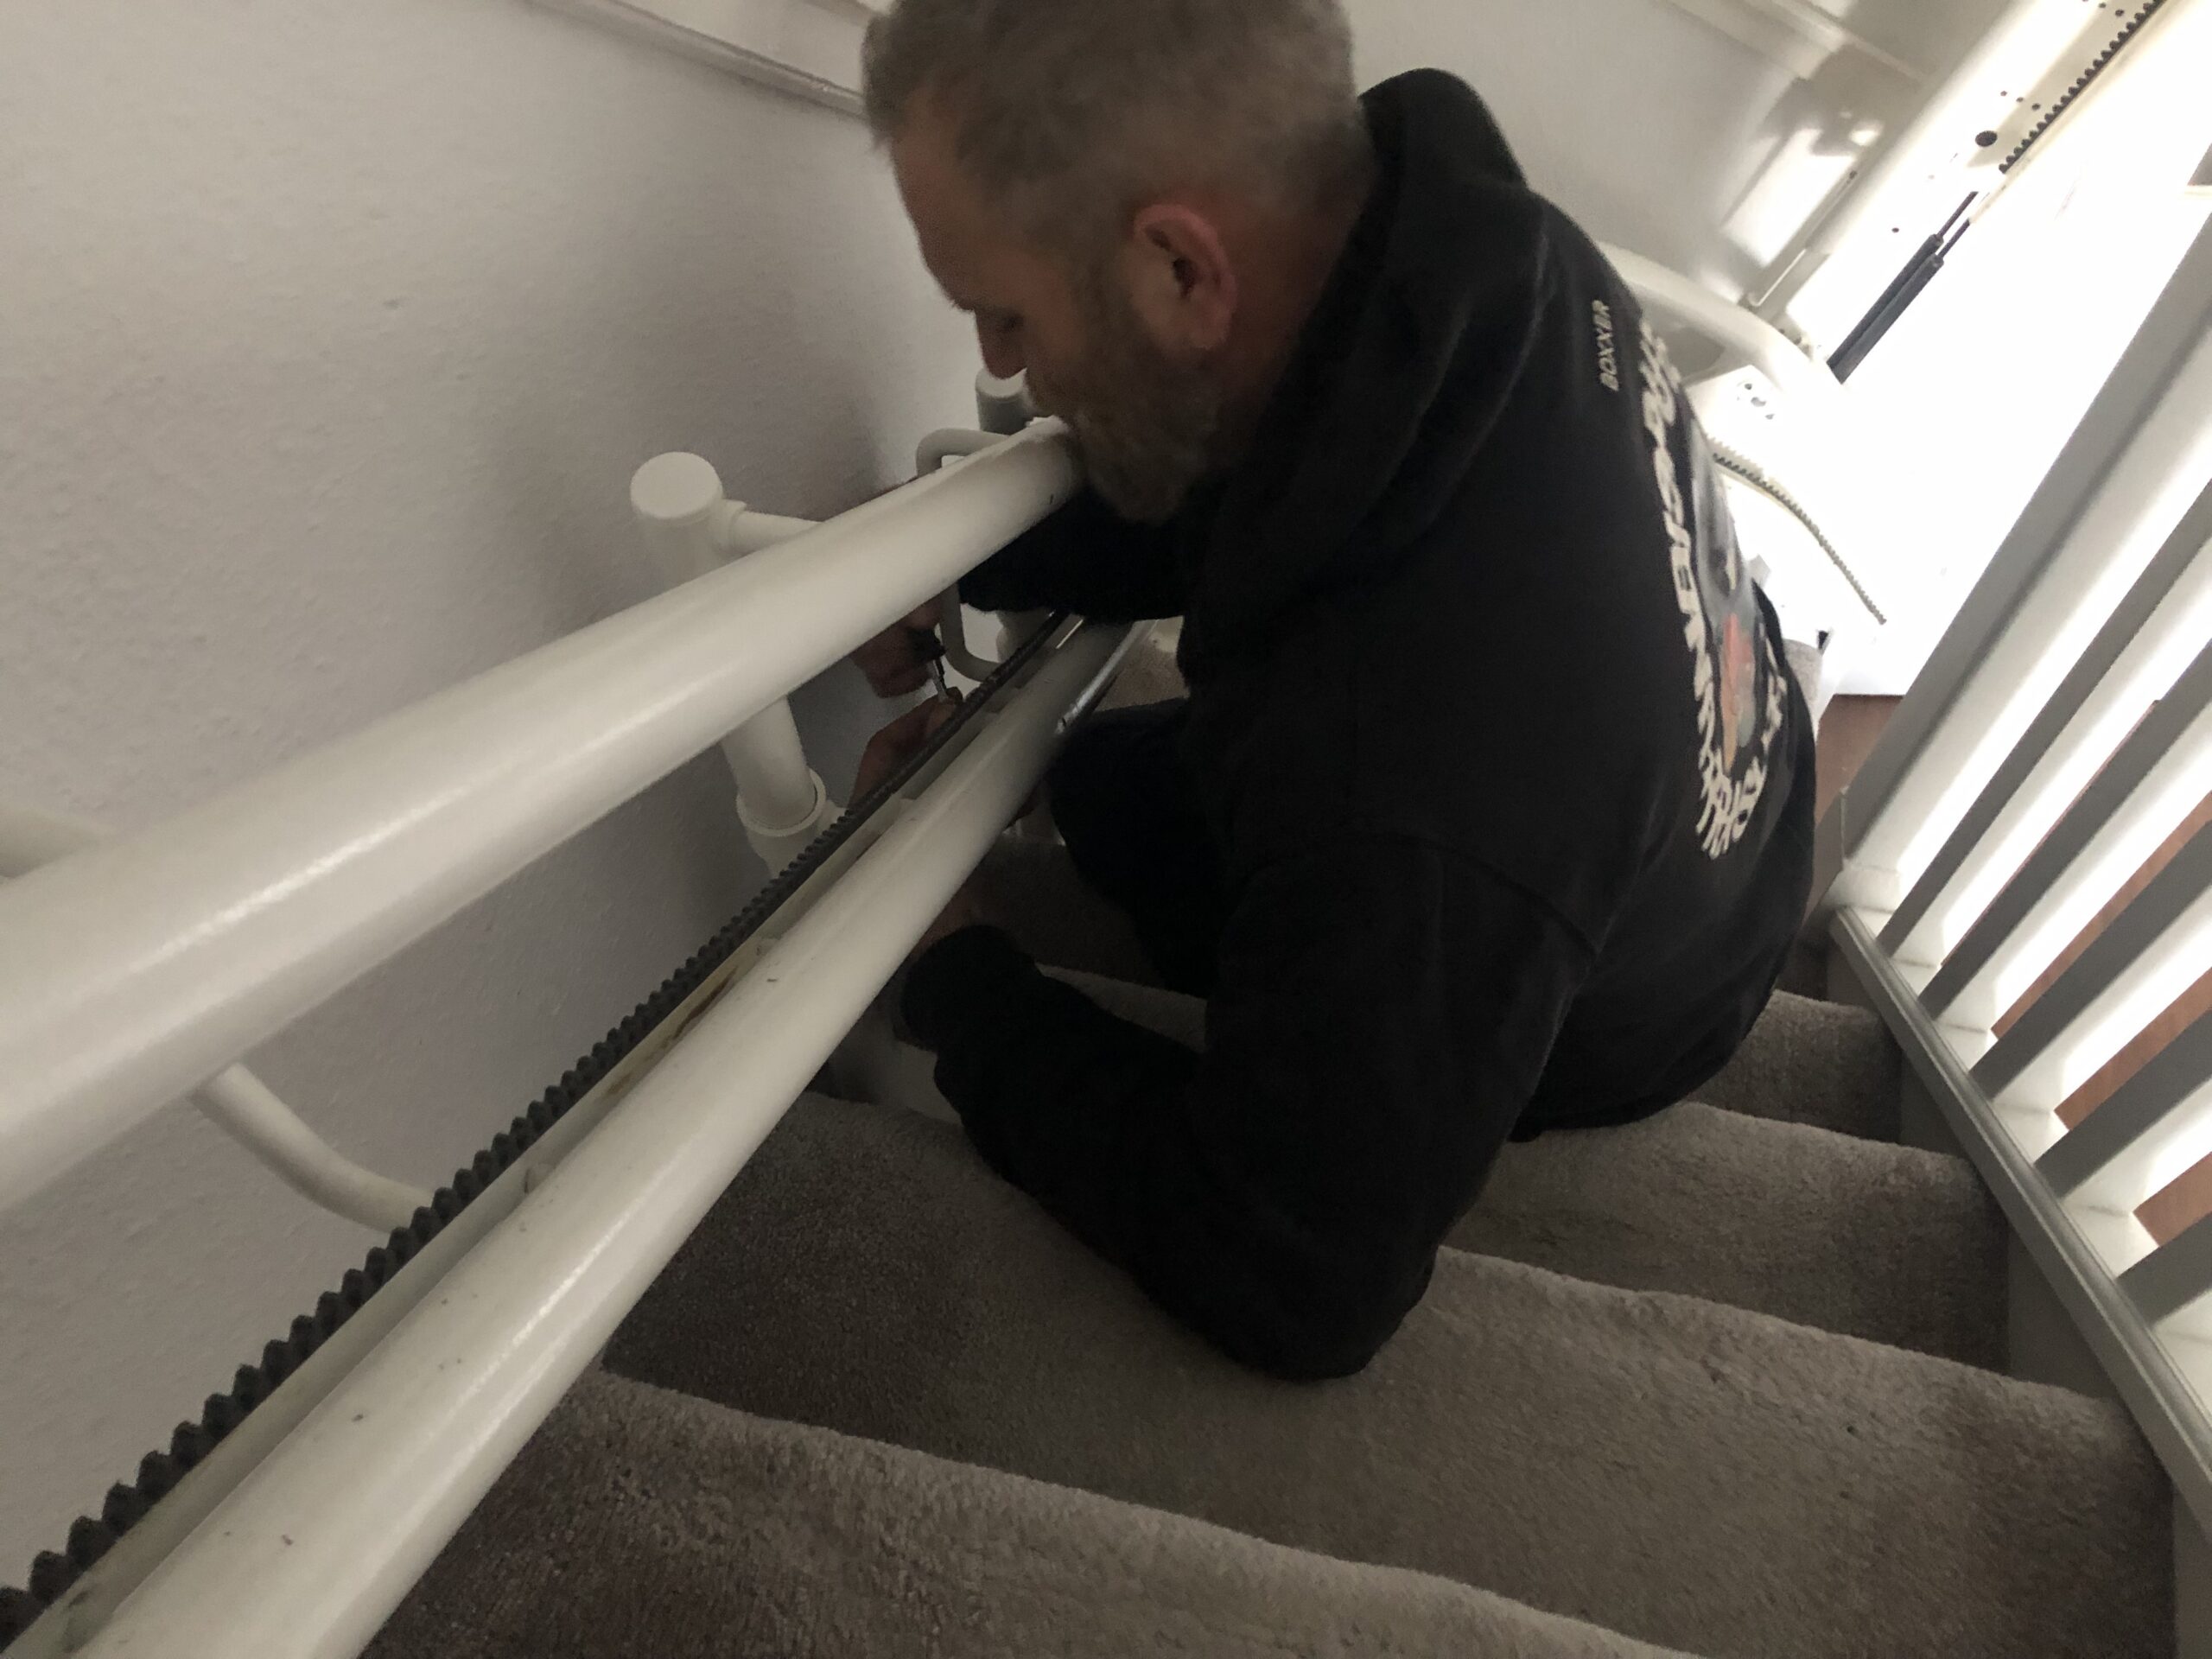
Dismantling A Stairlift – Summary
Once you have unscrewed the rails from the stairs, you should be able to separate the sections. Sections can be tightly connected so a rubber hammer can be useful to help separate them. Not every stairlift is the same, so it can be useful to check your user manual for your exact model.
We always recommend to get a professional in for stairlift removal, because although it seems relatively easy, a small job can easily become a DIY nightmare!
Give us a call on 0800 046 3438 or visit our contact page for more information on stairlift removals.