


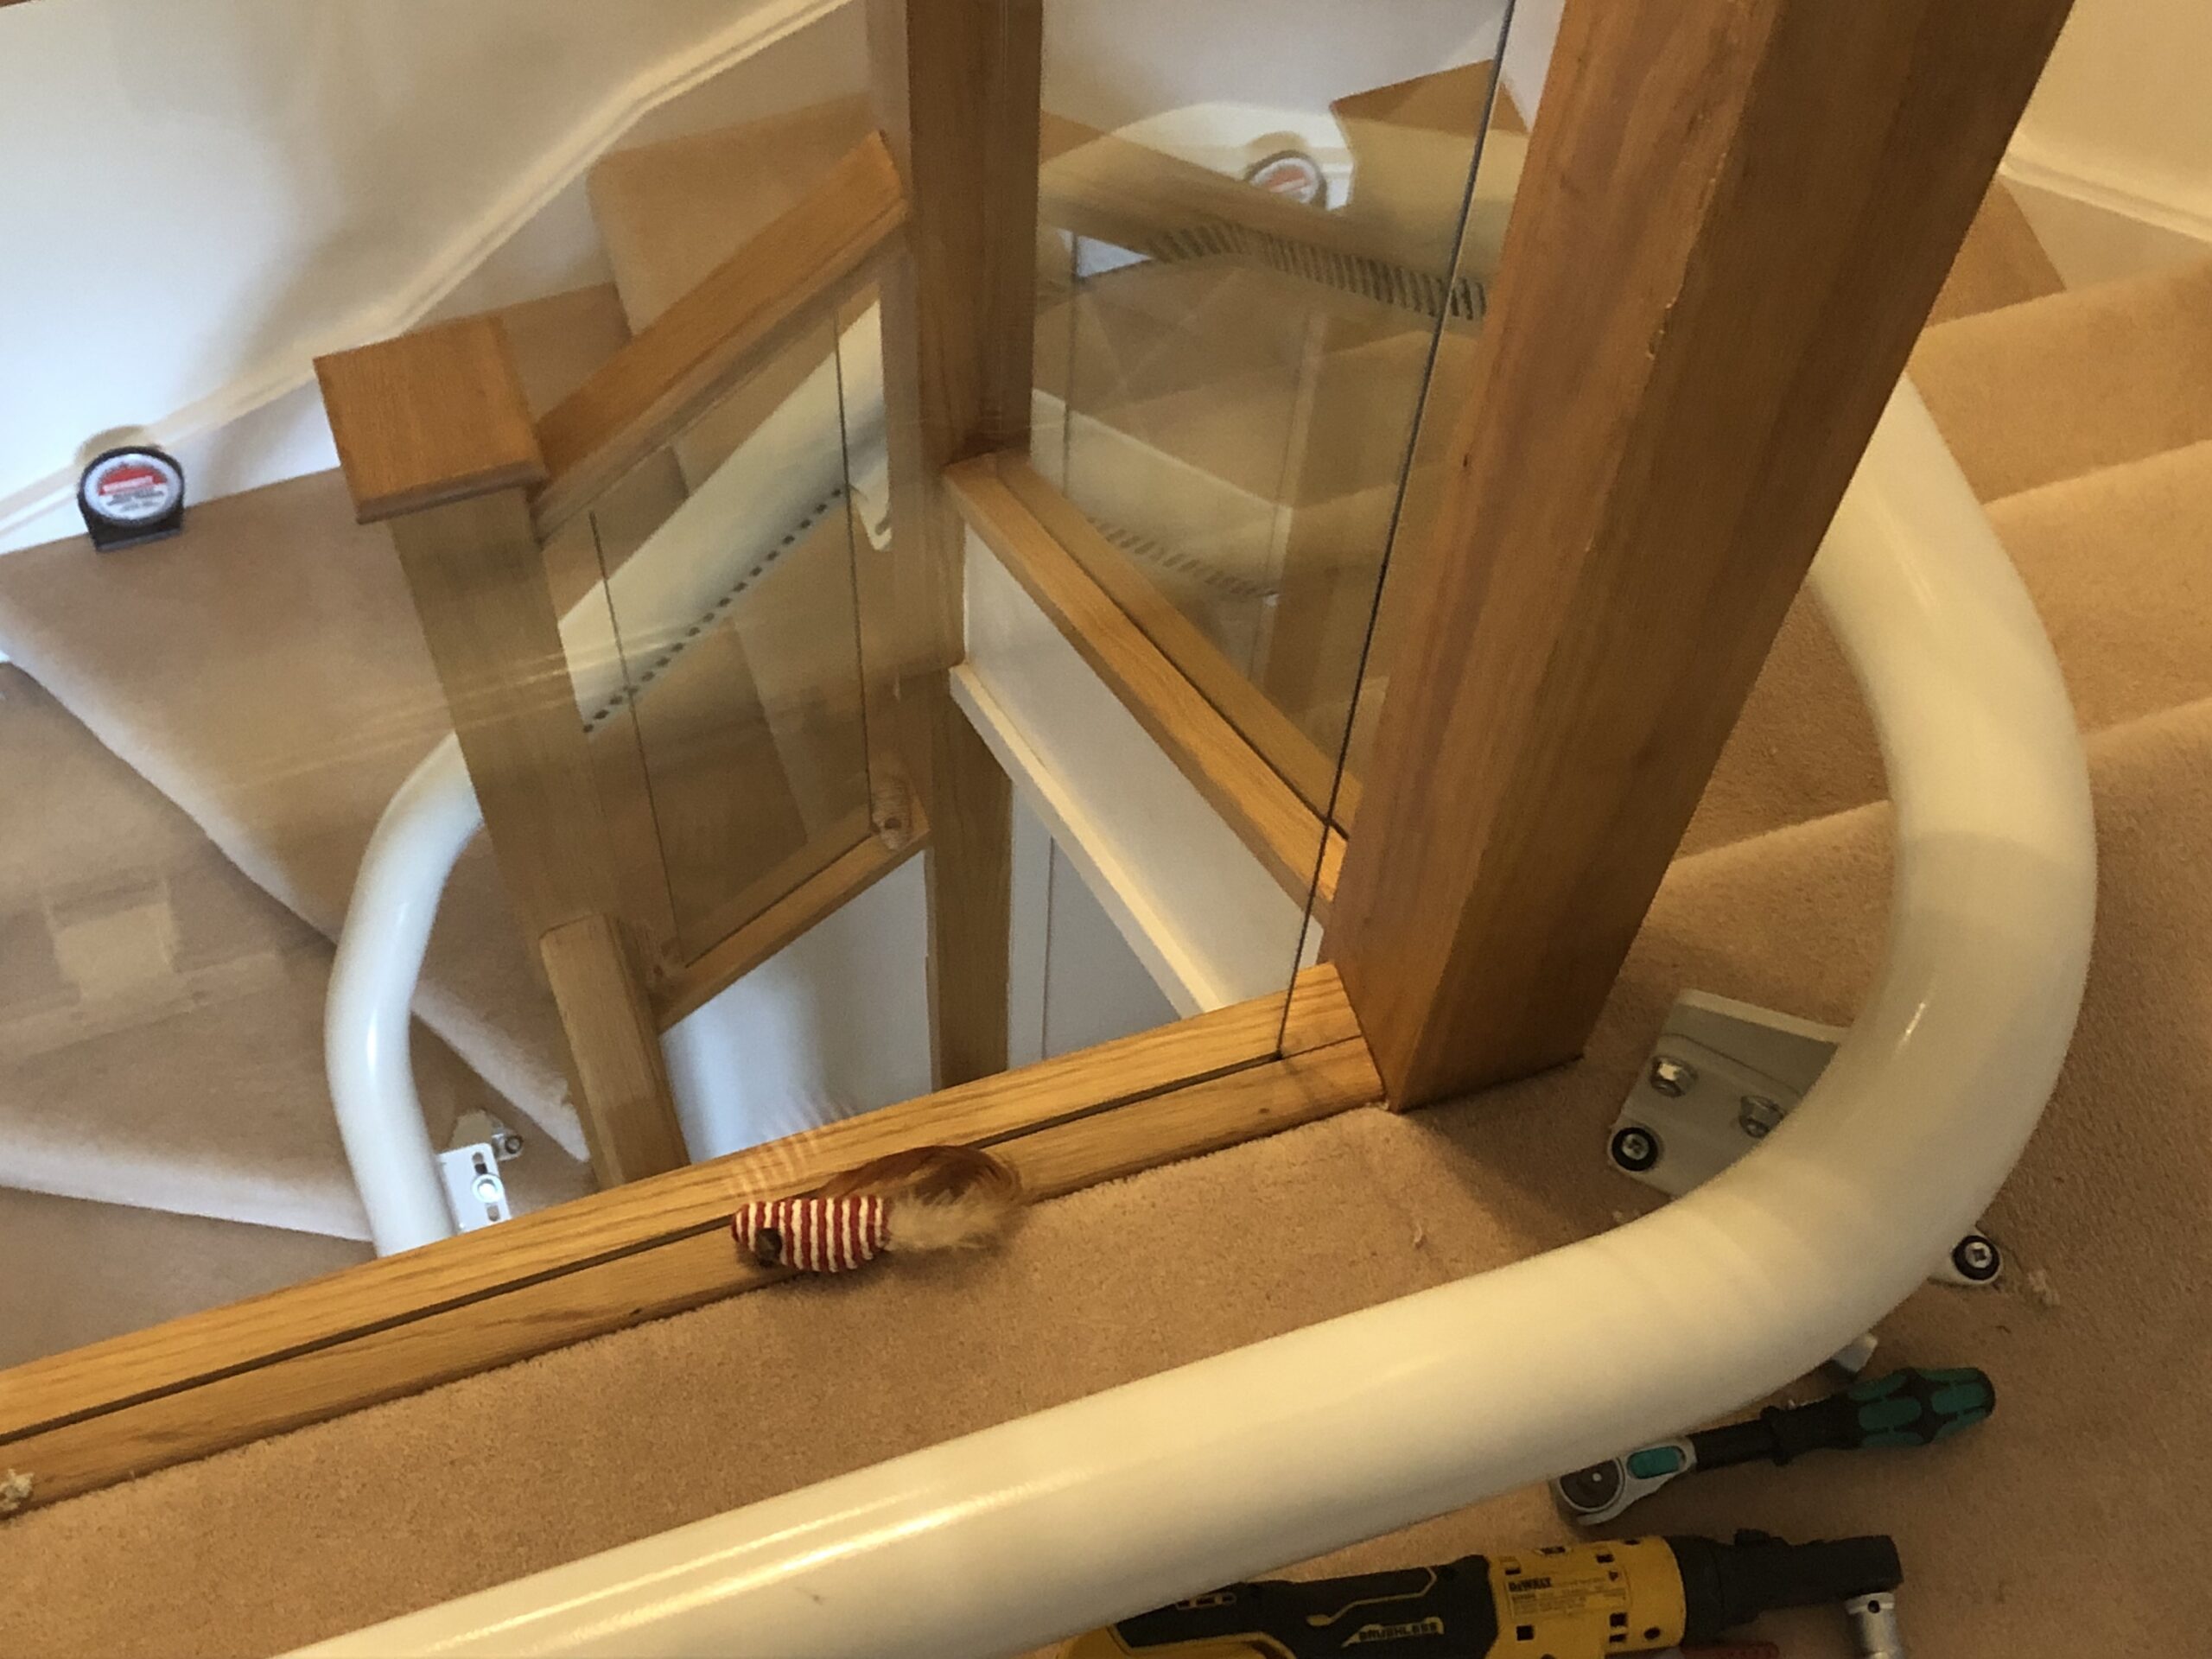
Here’s a case study on a recent stairlift installation we did. This particular staircase had a glass balustrade. We had to be particularly careful here. Once the rail goes in, it’s a slippery sucker and can easily slide downstairs, or flip if you’re not careful!
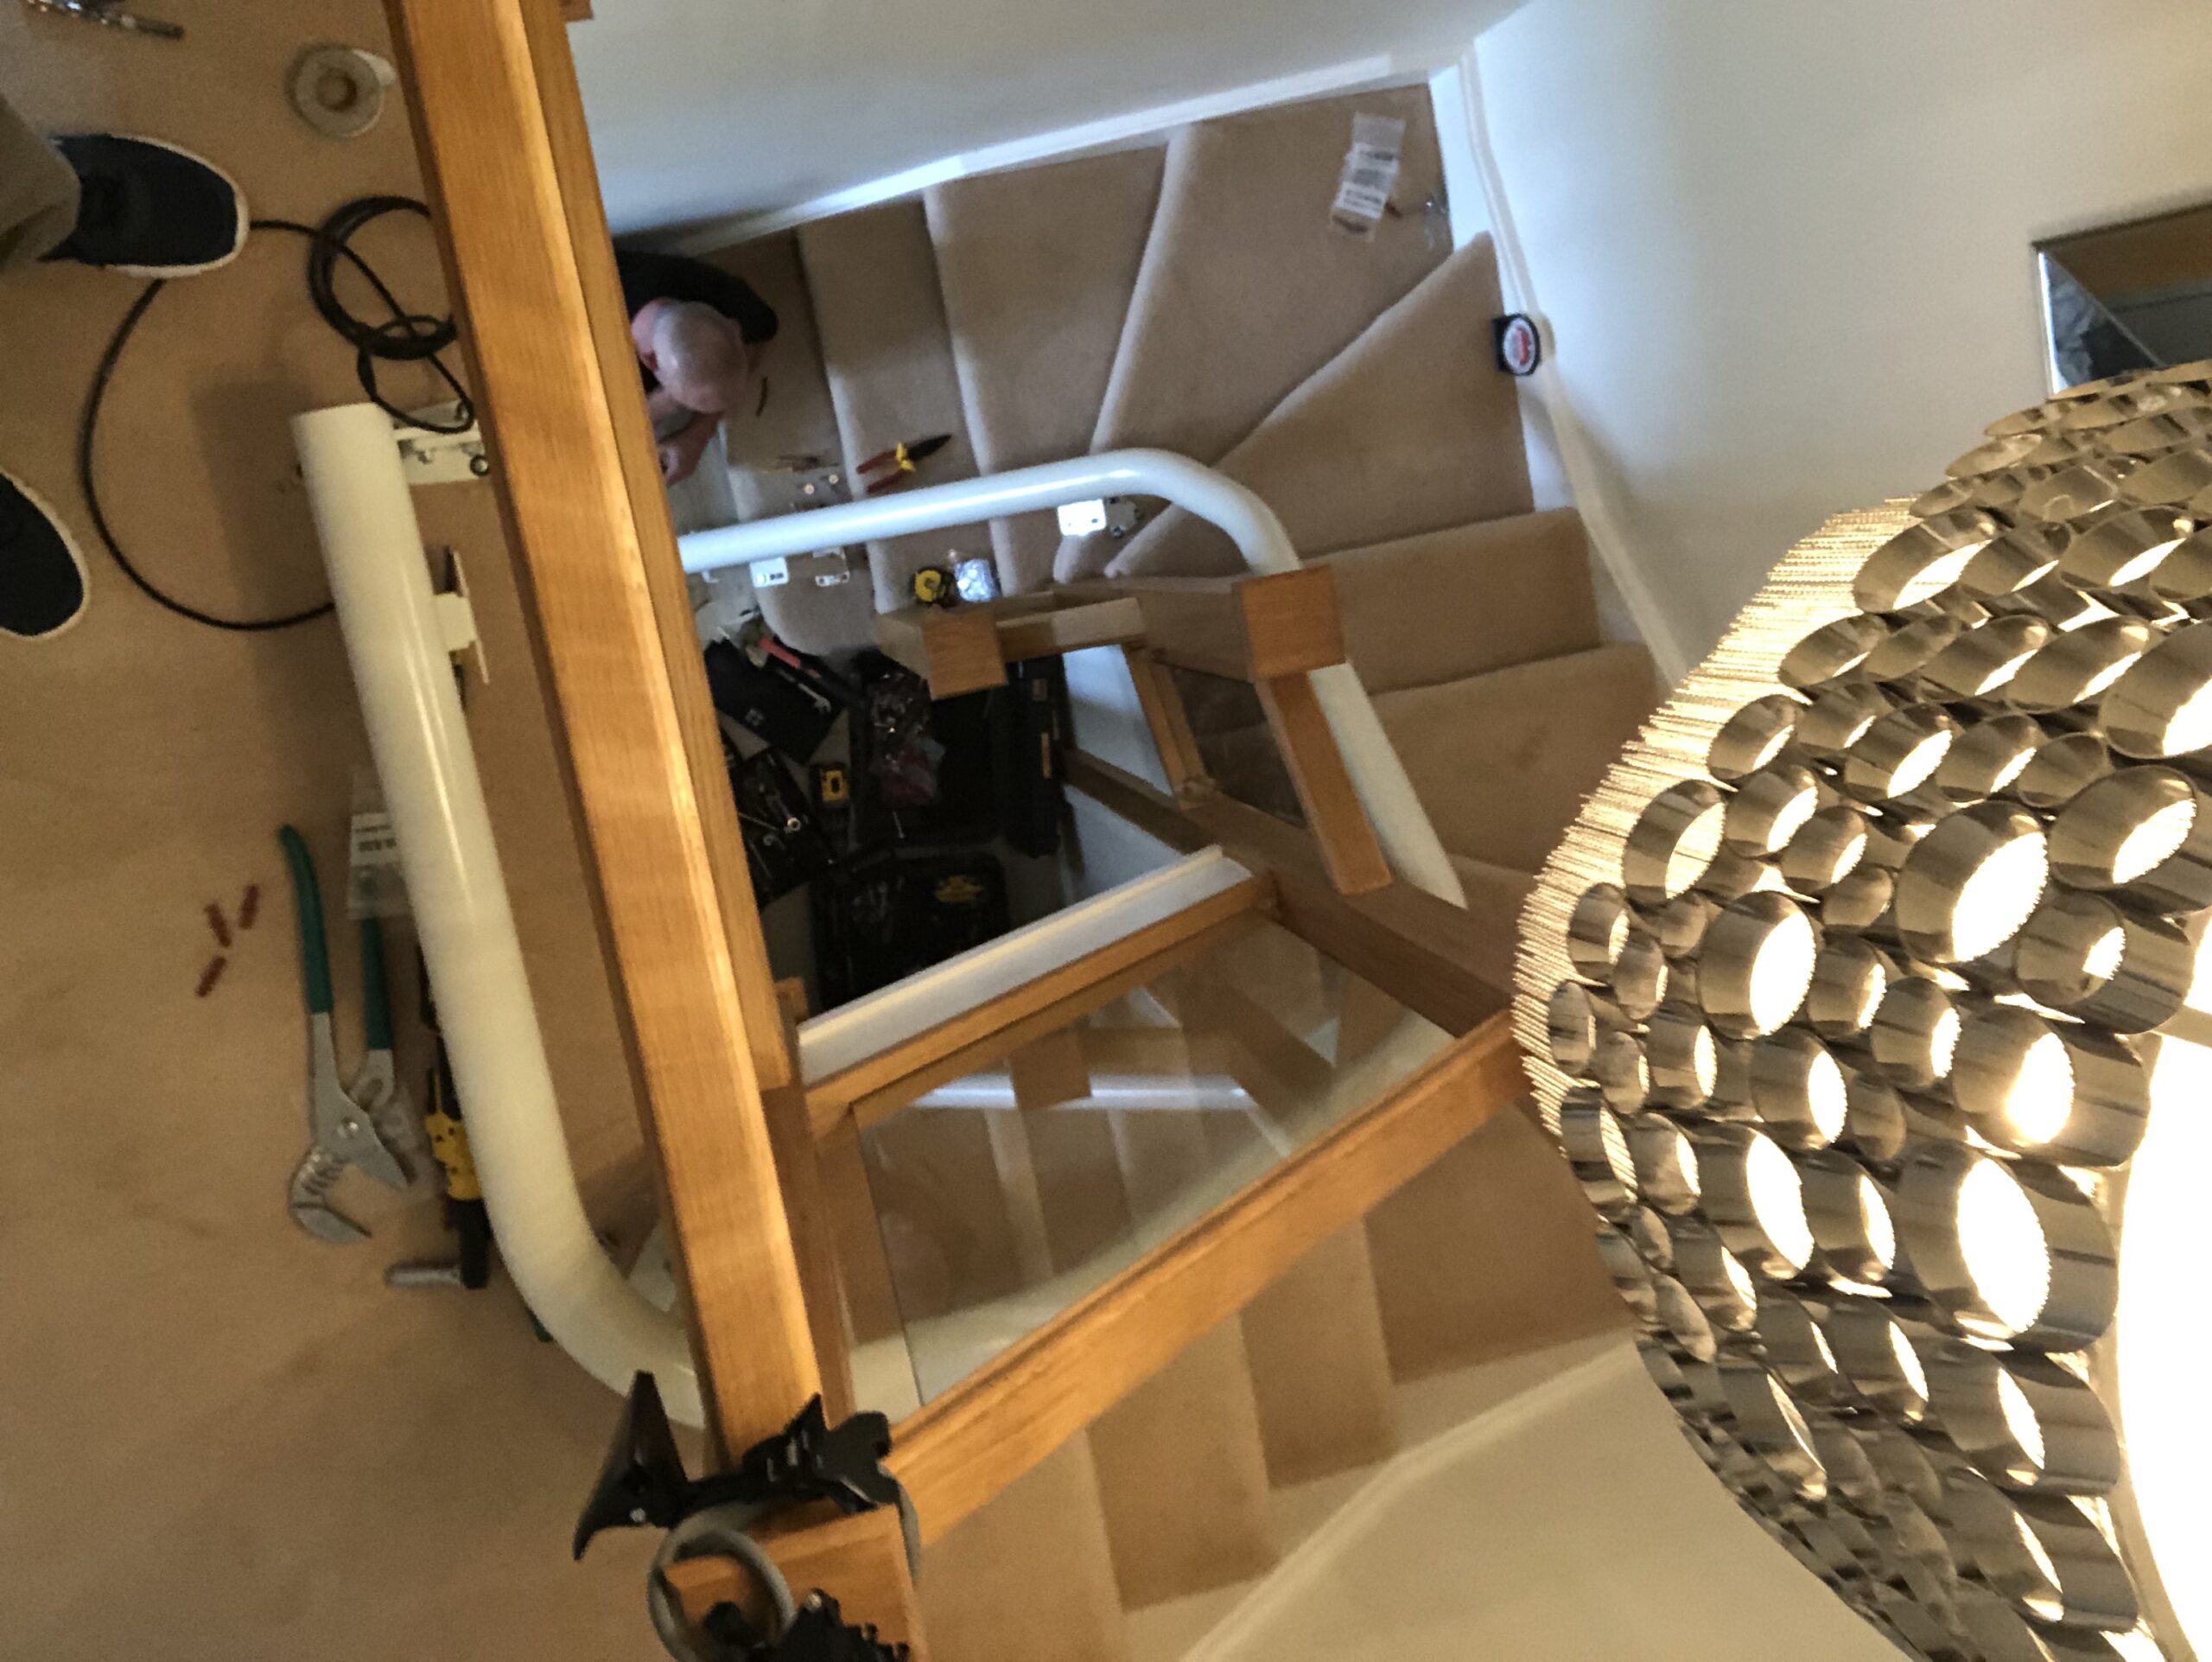
With the glass partition on the bannister rails, we needed to be super cautious that the rail didn’t slip and knock into the glass!
Glass Balustrade – Glass Partition Banister Rail
The first step on any installation is the installation of the rail. The rail comes in sections which are attached together piece by piece. There were three main pieces of this railing system. You an see them going together in this short video:
On this particular staircase we also had an alcove at the base of the stairs and a door in the corridor. So we couldn’t block the space under the staircase with the chair. This left few options other than the Flow X stairlift – which is superb for narrow and difficult staircases. See our blog post stairlifts for narrow stairs for more on this topic.
Stairlift Installation Glass – Parking
We installed this stairlift with two parking points – one at the very top of the stairs, out of the way, and the other at the bottom, in a more convenient place.
At the base of the stairs, the stairlift did obscure the staircase for other household members, however. But when folded there was room to pass the lift if you weren’t using it for the stairs. The Flow X stairlift is a great design for staircases which are awkward and present challenges like this one did. It folds down to only 38cm in width, for just such an occasion!
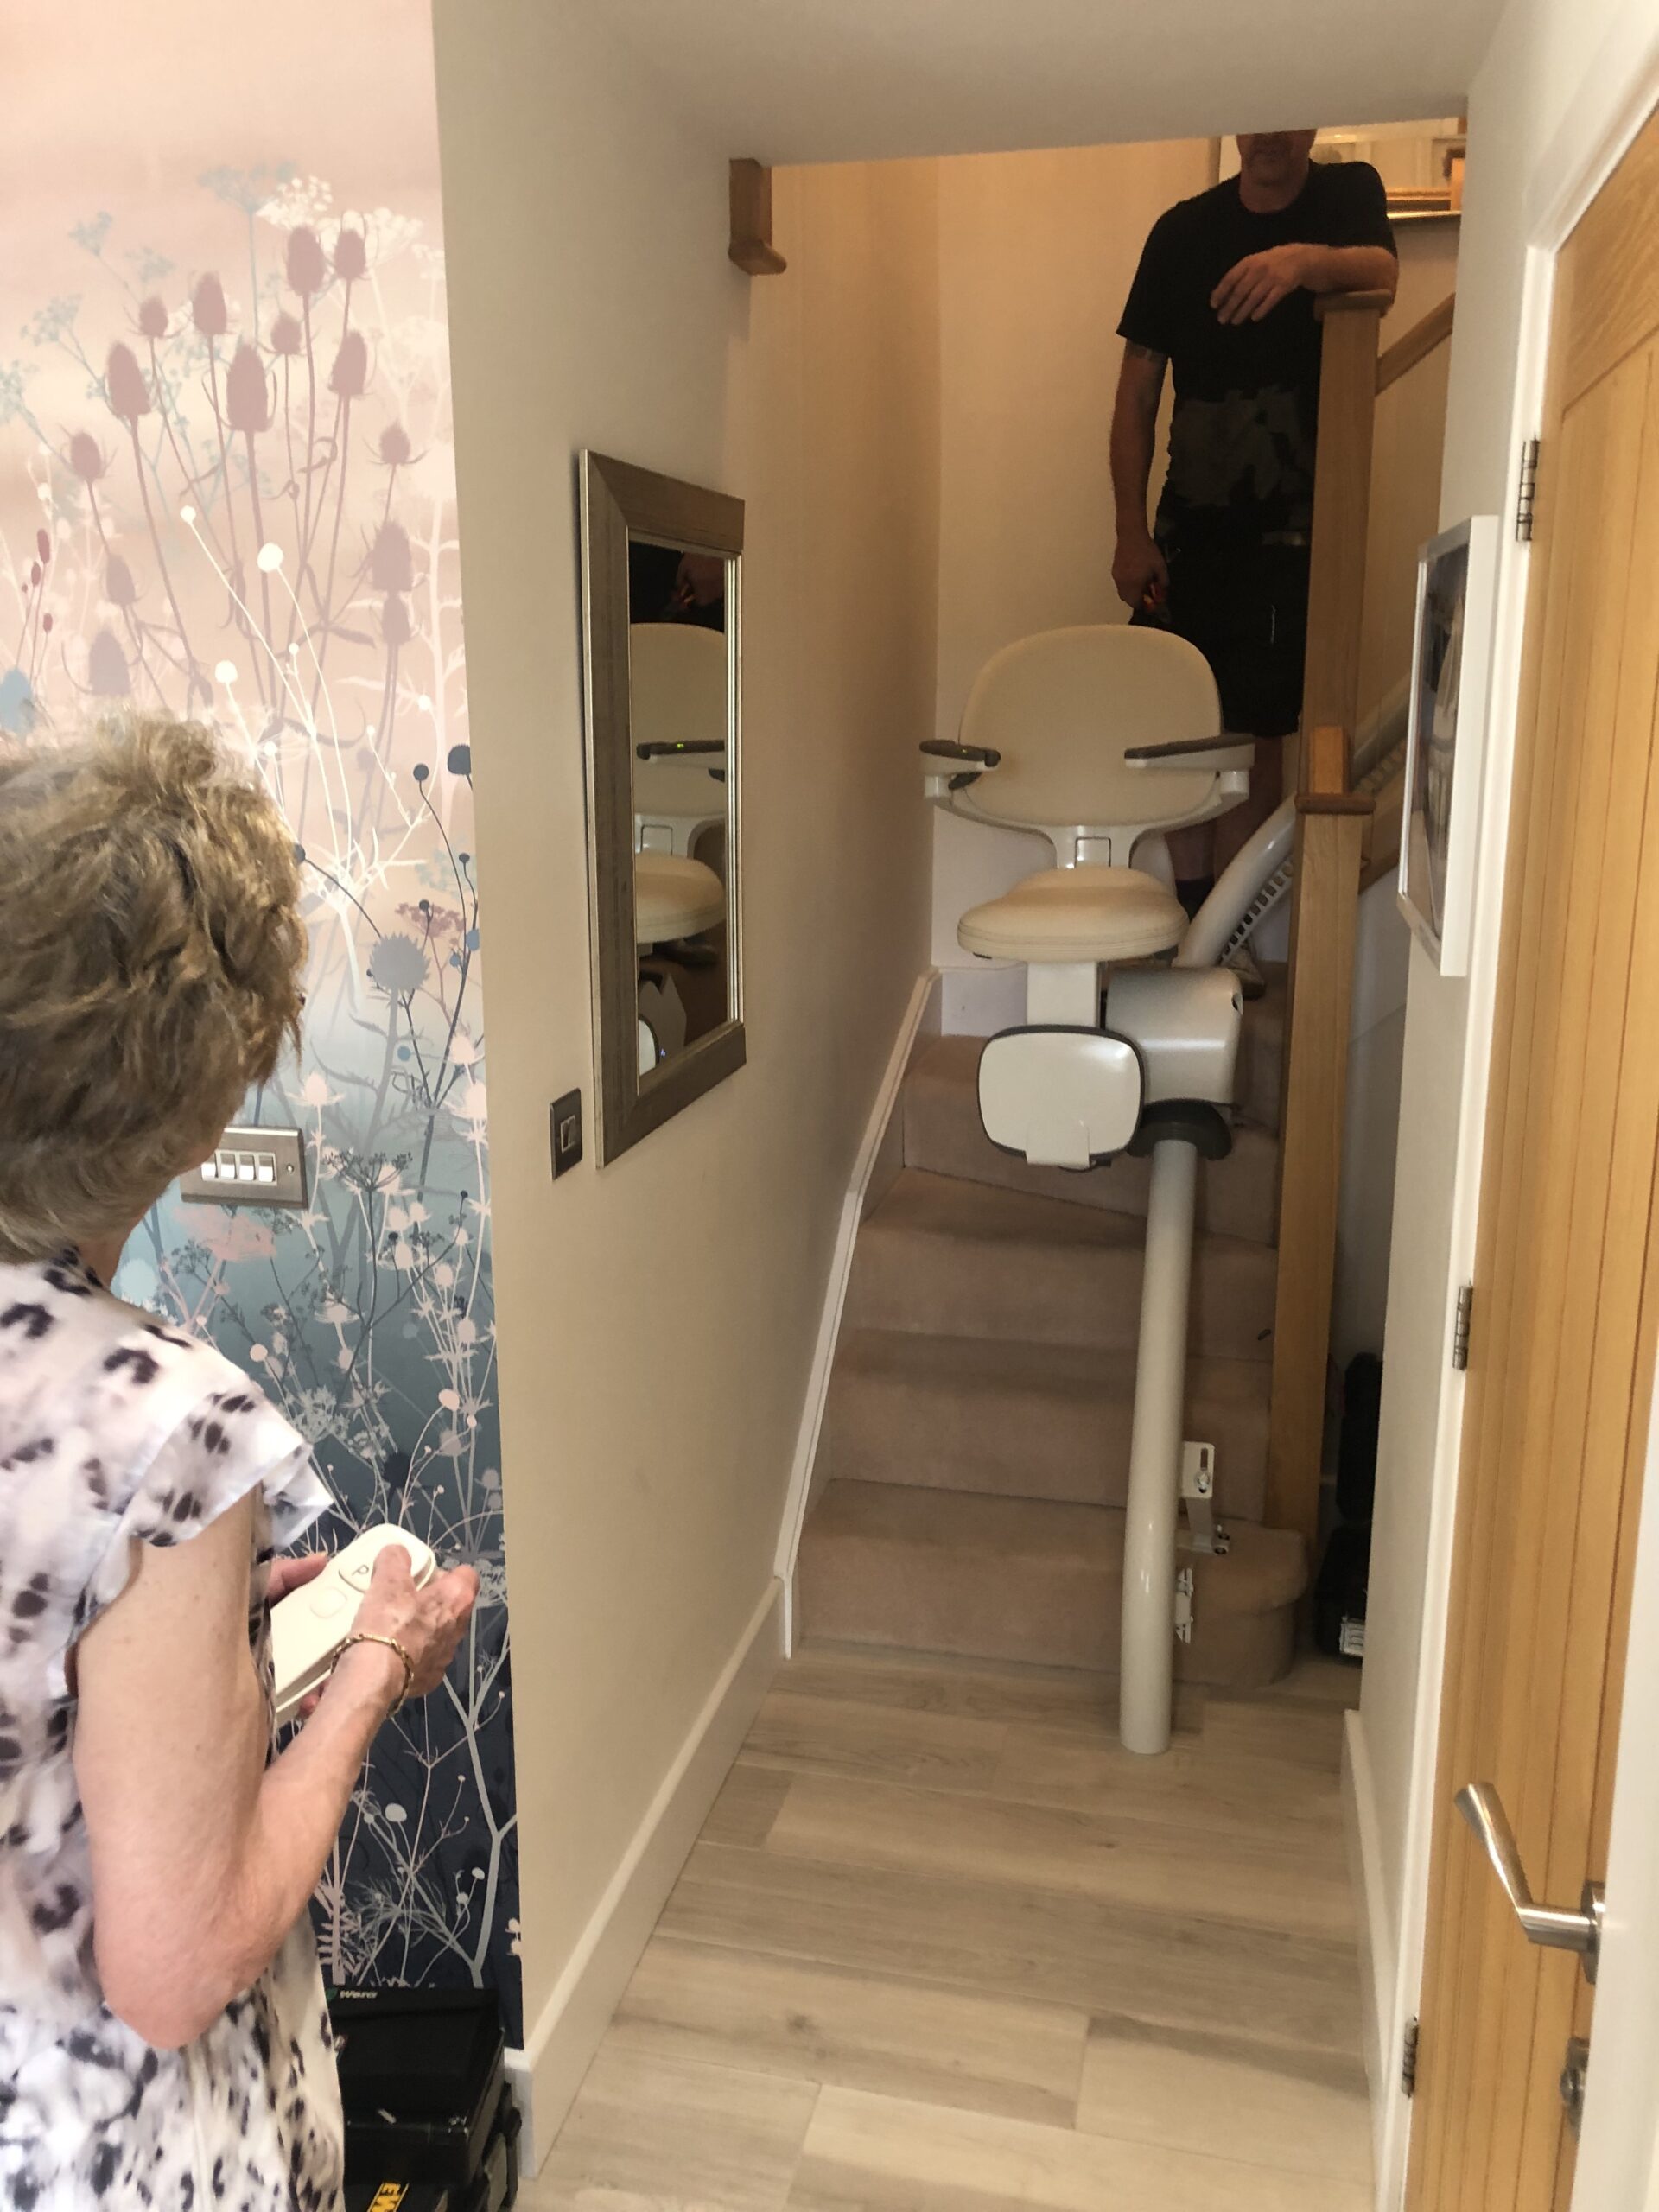
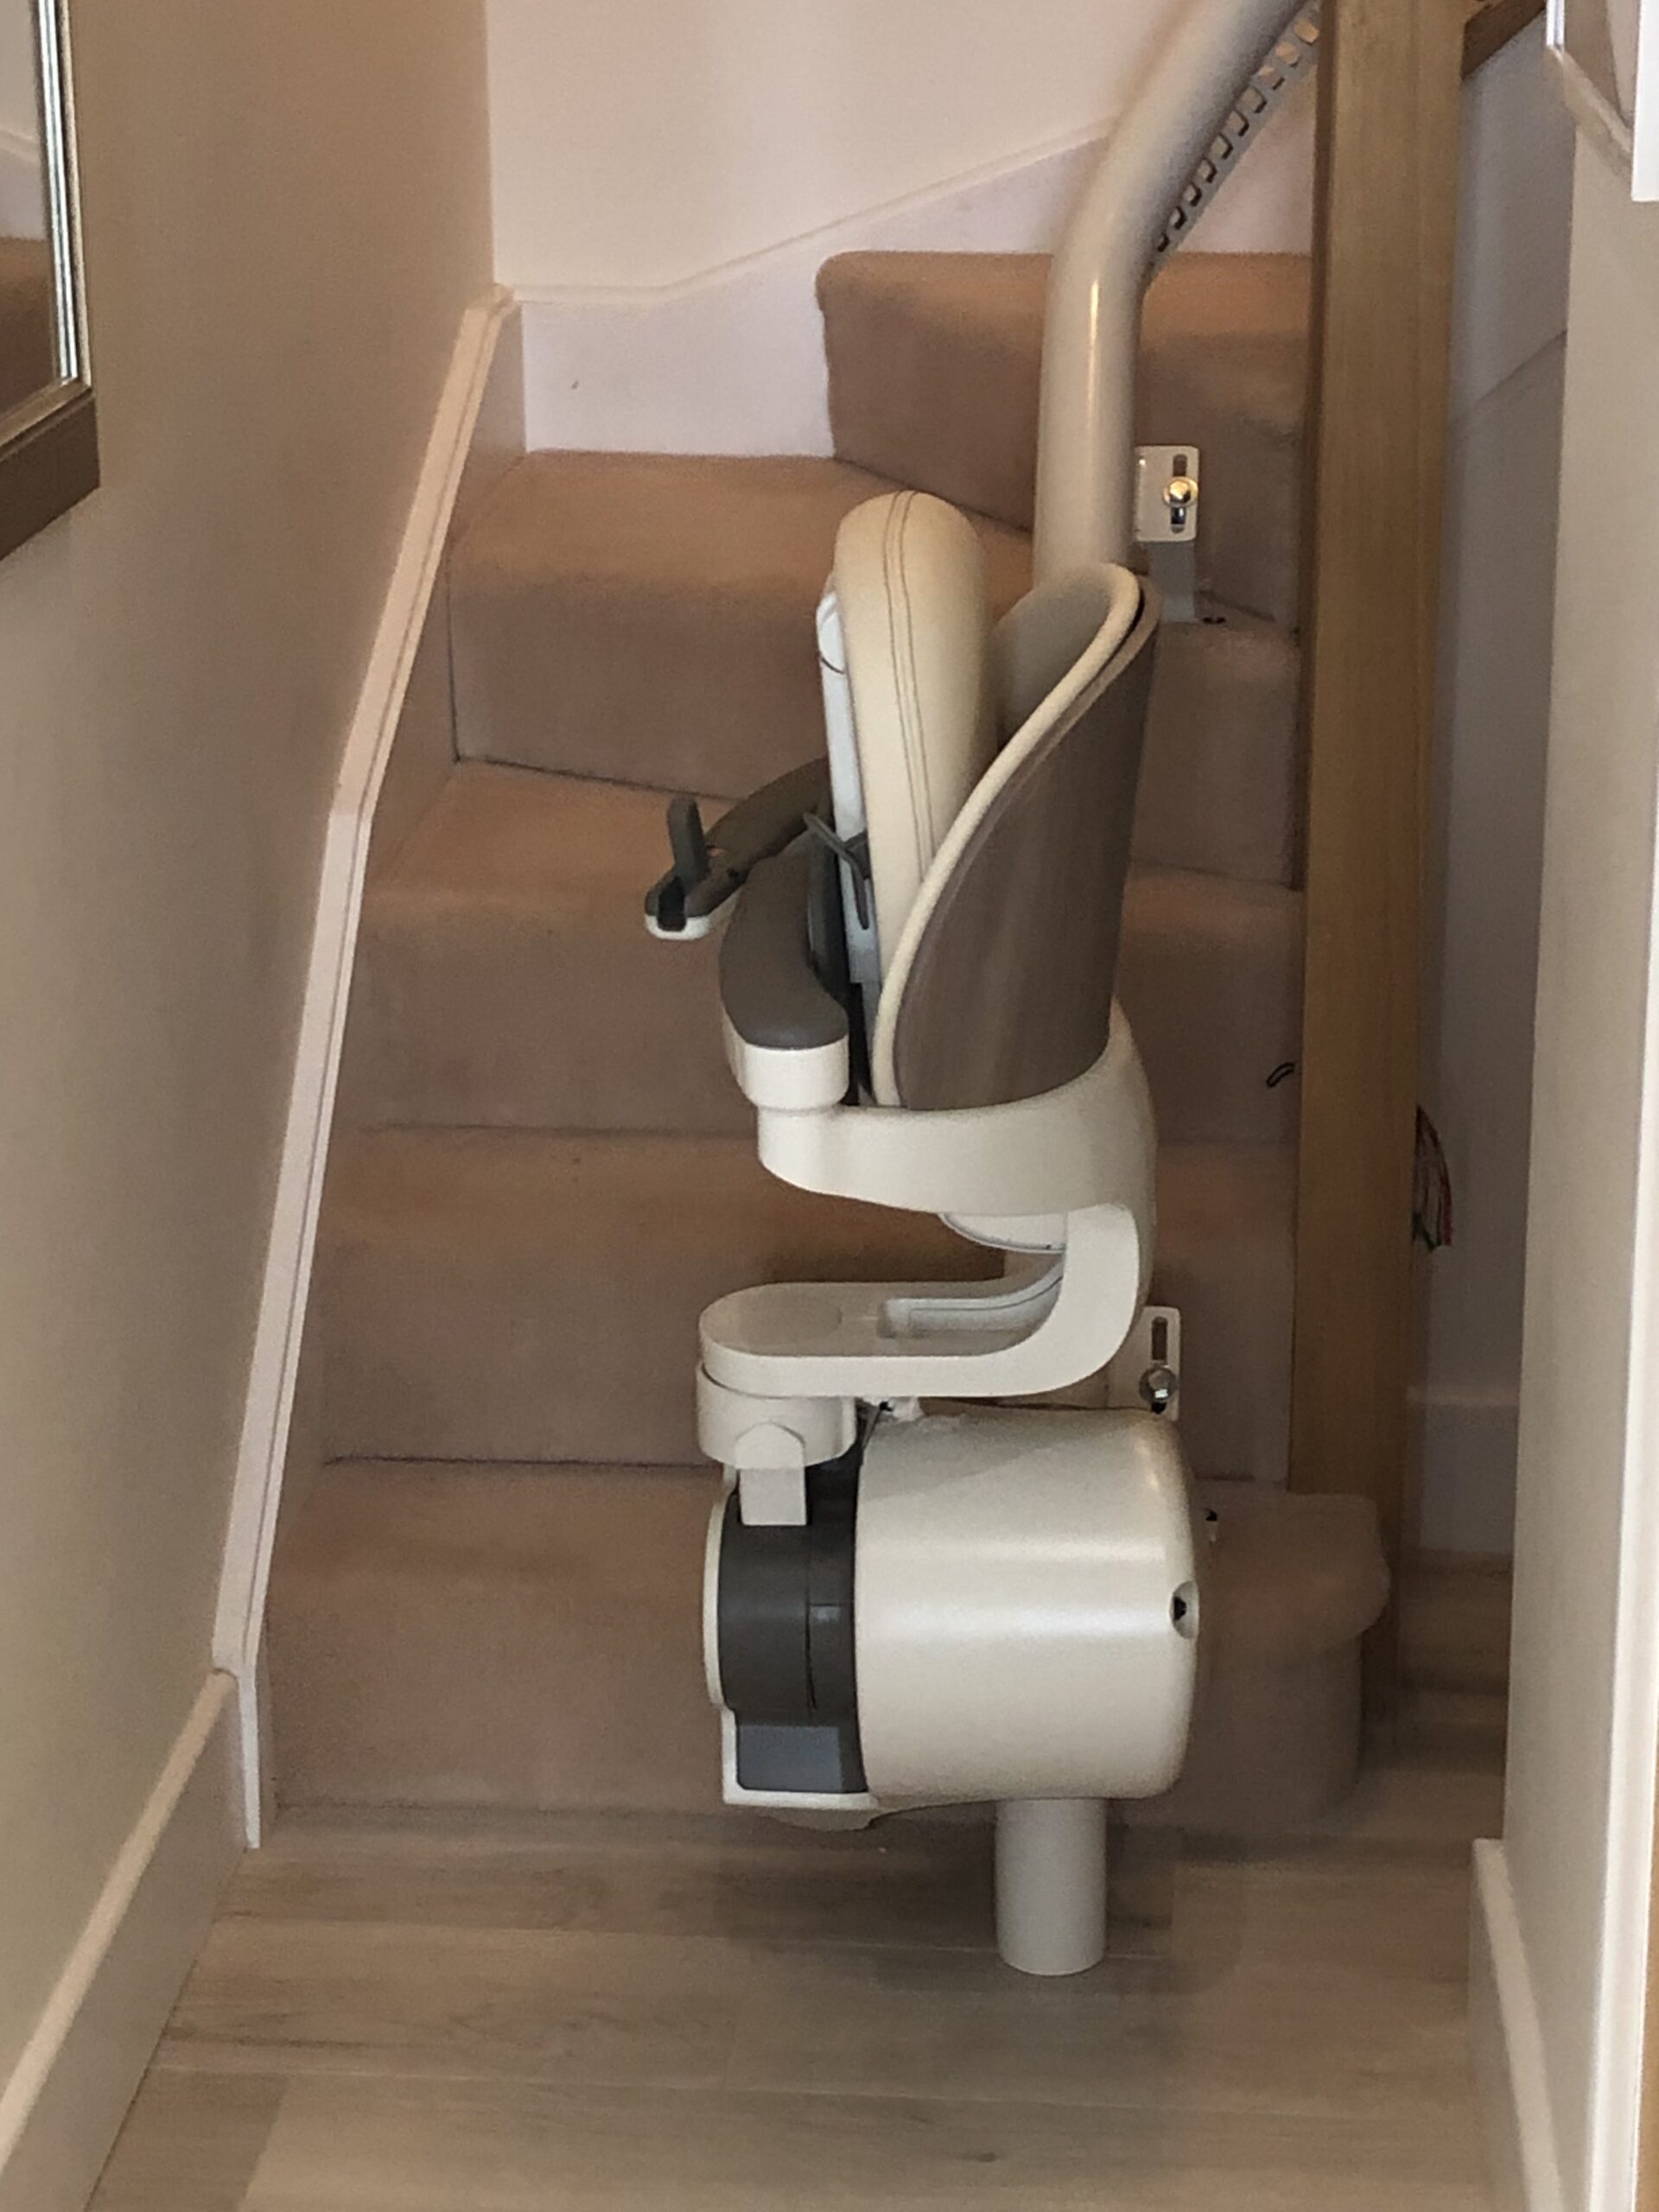
This also meant that the under-stair space could still be reached, and that the stairlift didn’t obscure the door at the base of the stairs.
Rail Installation Glass Balustrade
As the stairlift rail comes together, a small movement of the bottom end of the rail can dramatically shift the top end. So usually in such a situation, the top end of the rail is fixed to the floor with screws, to secure it and avoid any mishaps!
The paint on the rail makes it very slippery too, which means it call easily slide downstairs if it isn’t quickly attached somehow to the stairs. Once the top piece is secured, measurements can be taken to make sure the rail is correctly spaced.
With such a close fitting stairlift, a small misalignment can cause problems. So each section of the rail is carefully measure to ensure a proper fit.
Measuring The Rail Distance
The key to getting these installations right, and leaving enough room for the stairlift to move closely to the bannister rail is taking exact measurements. Before this stairlift goes out, precise measurements need to be taken to ensure the customised rail fits perfectly. One measurement which is slightly out can throw off the stairlift completely – making it redundant!
Once the rail is ready to install, errors can still be made when installing it. So measurements are taken from the bannister to make sure it’s an exact fit.
Adjusting The Rail Position
Once measurements were taken the rail can be adjusted to optimum distance to allow the stairlift to take up the least possible space, while not making contact with the bannister newel posts.
This can be done by firstly adjusting the rail position, but also through small adjustments in the leg brackets.
Summary
So there’s another case study showing how versatile the Flow X stairlift really is. It’s definitely our favourite for narrow stairlift fittings, and for those with awkward doorways at the top and bottom of the stairs.
This was was interesting because of the glass balustrade. We had to take extra caution here so as not to knock the glass at any point. This would have been most likely if the rail had moved. Rails are quite heavy once each section is connected together. Unless you screw the top section down, they can easily get away from you!
We also needed a very accurate fitting of the rail to accommodate the stairlift on such a narrow staircase.
Here’s the end result in super fast motion using the time-lapse we took of the whole installation: