

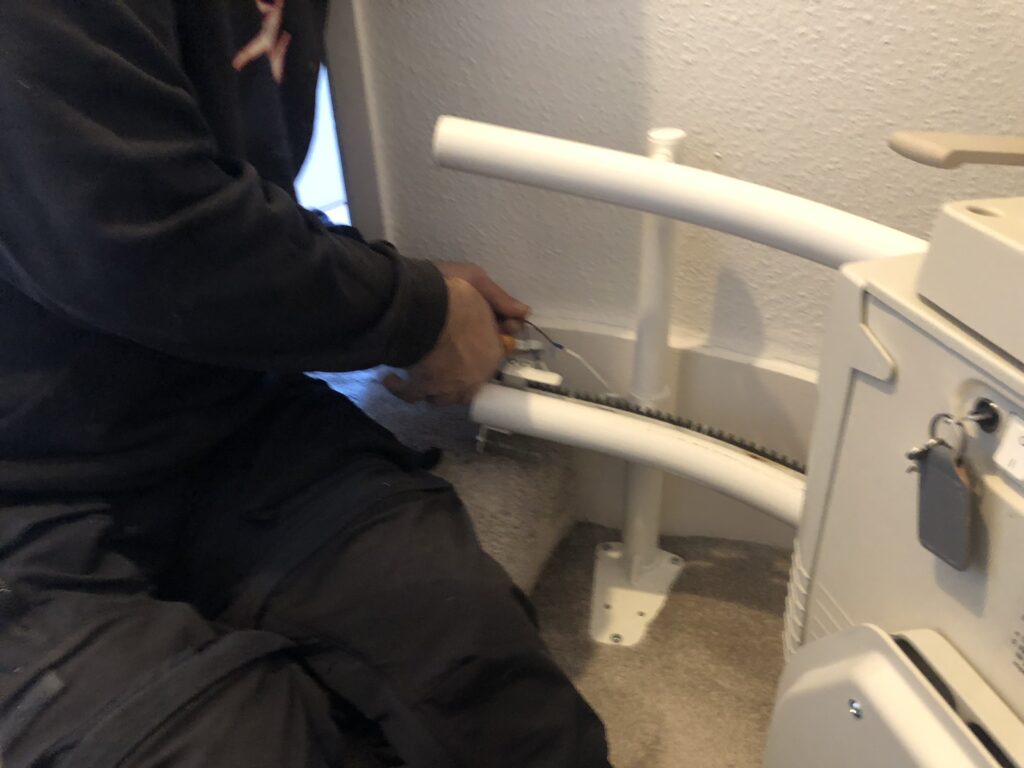

If you’re looking for Stannah stairlift removal instructions, this one’s for you! In this post we will share the two main Stannah stairlift models and how to safely remove them: the Stannah 600 and the Stannah 260 models (straight and curved stairlifts). See also Stannah stairlift removal.
We always recommend using a professional stairlift removal service, for the safest option. If your stairlift is worth something, you can risk damage if you remove it yourself. Give us a call to check on the value of your stairlift, and whether it is worth selling.
Learn more about selling your stairlift here.

To begin with, whether you have a straight stairlift or a curved stairlift, you’ll need to remove the stairlift from the rail. This is the first step of stairlift removal. Make sure your stairlift is powered. Without power, you won’t be able to drive the stairlift off the rail.
Common issues:

Here’s a video showing each part of the stairlift removal instructions for a straight Stannah stairlift.
In this video you can see the removal of a Stannah 260 (curved stairlift) step by step. Both stairlifts have a similar procedure for removal with some small variations.
Visit our YouTube channel for more videos on stairlift removal.
In general, to remove a stairlift start with the stairlift chair itself. Remove by driving it off the top of the rail. You will need it to be operational first, so check the batteries and replace if necessary.
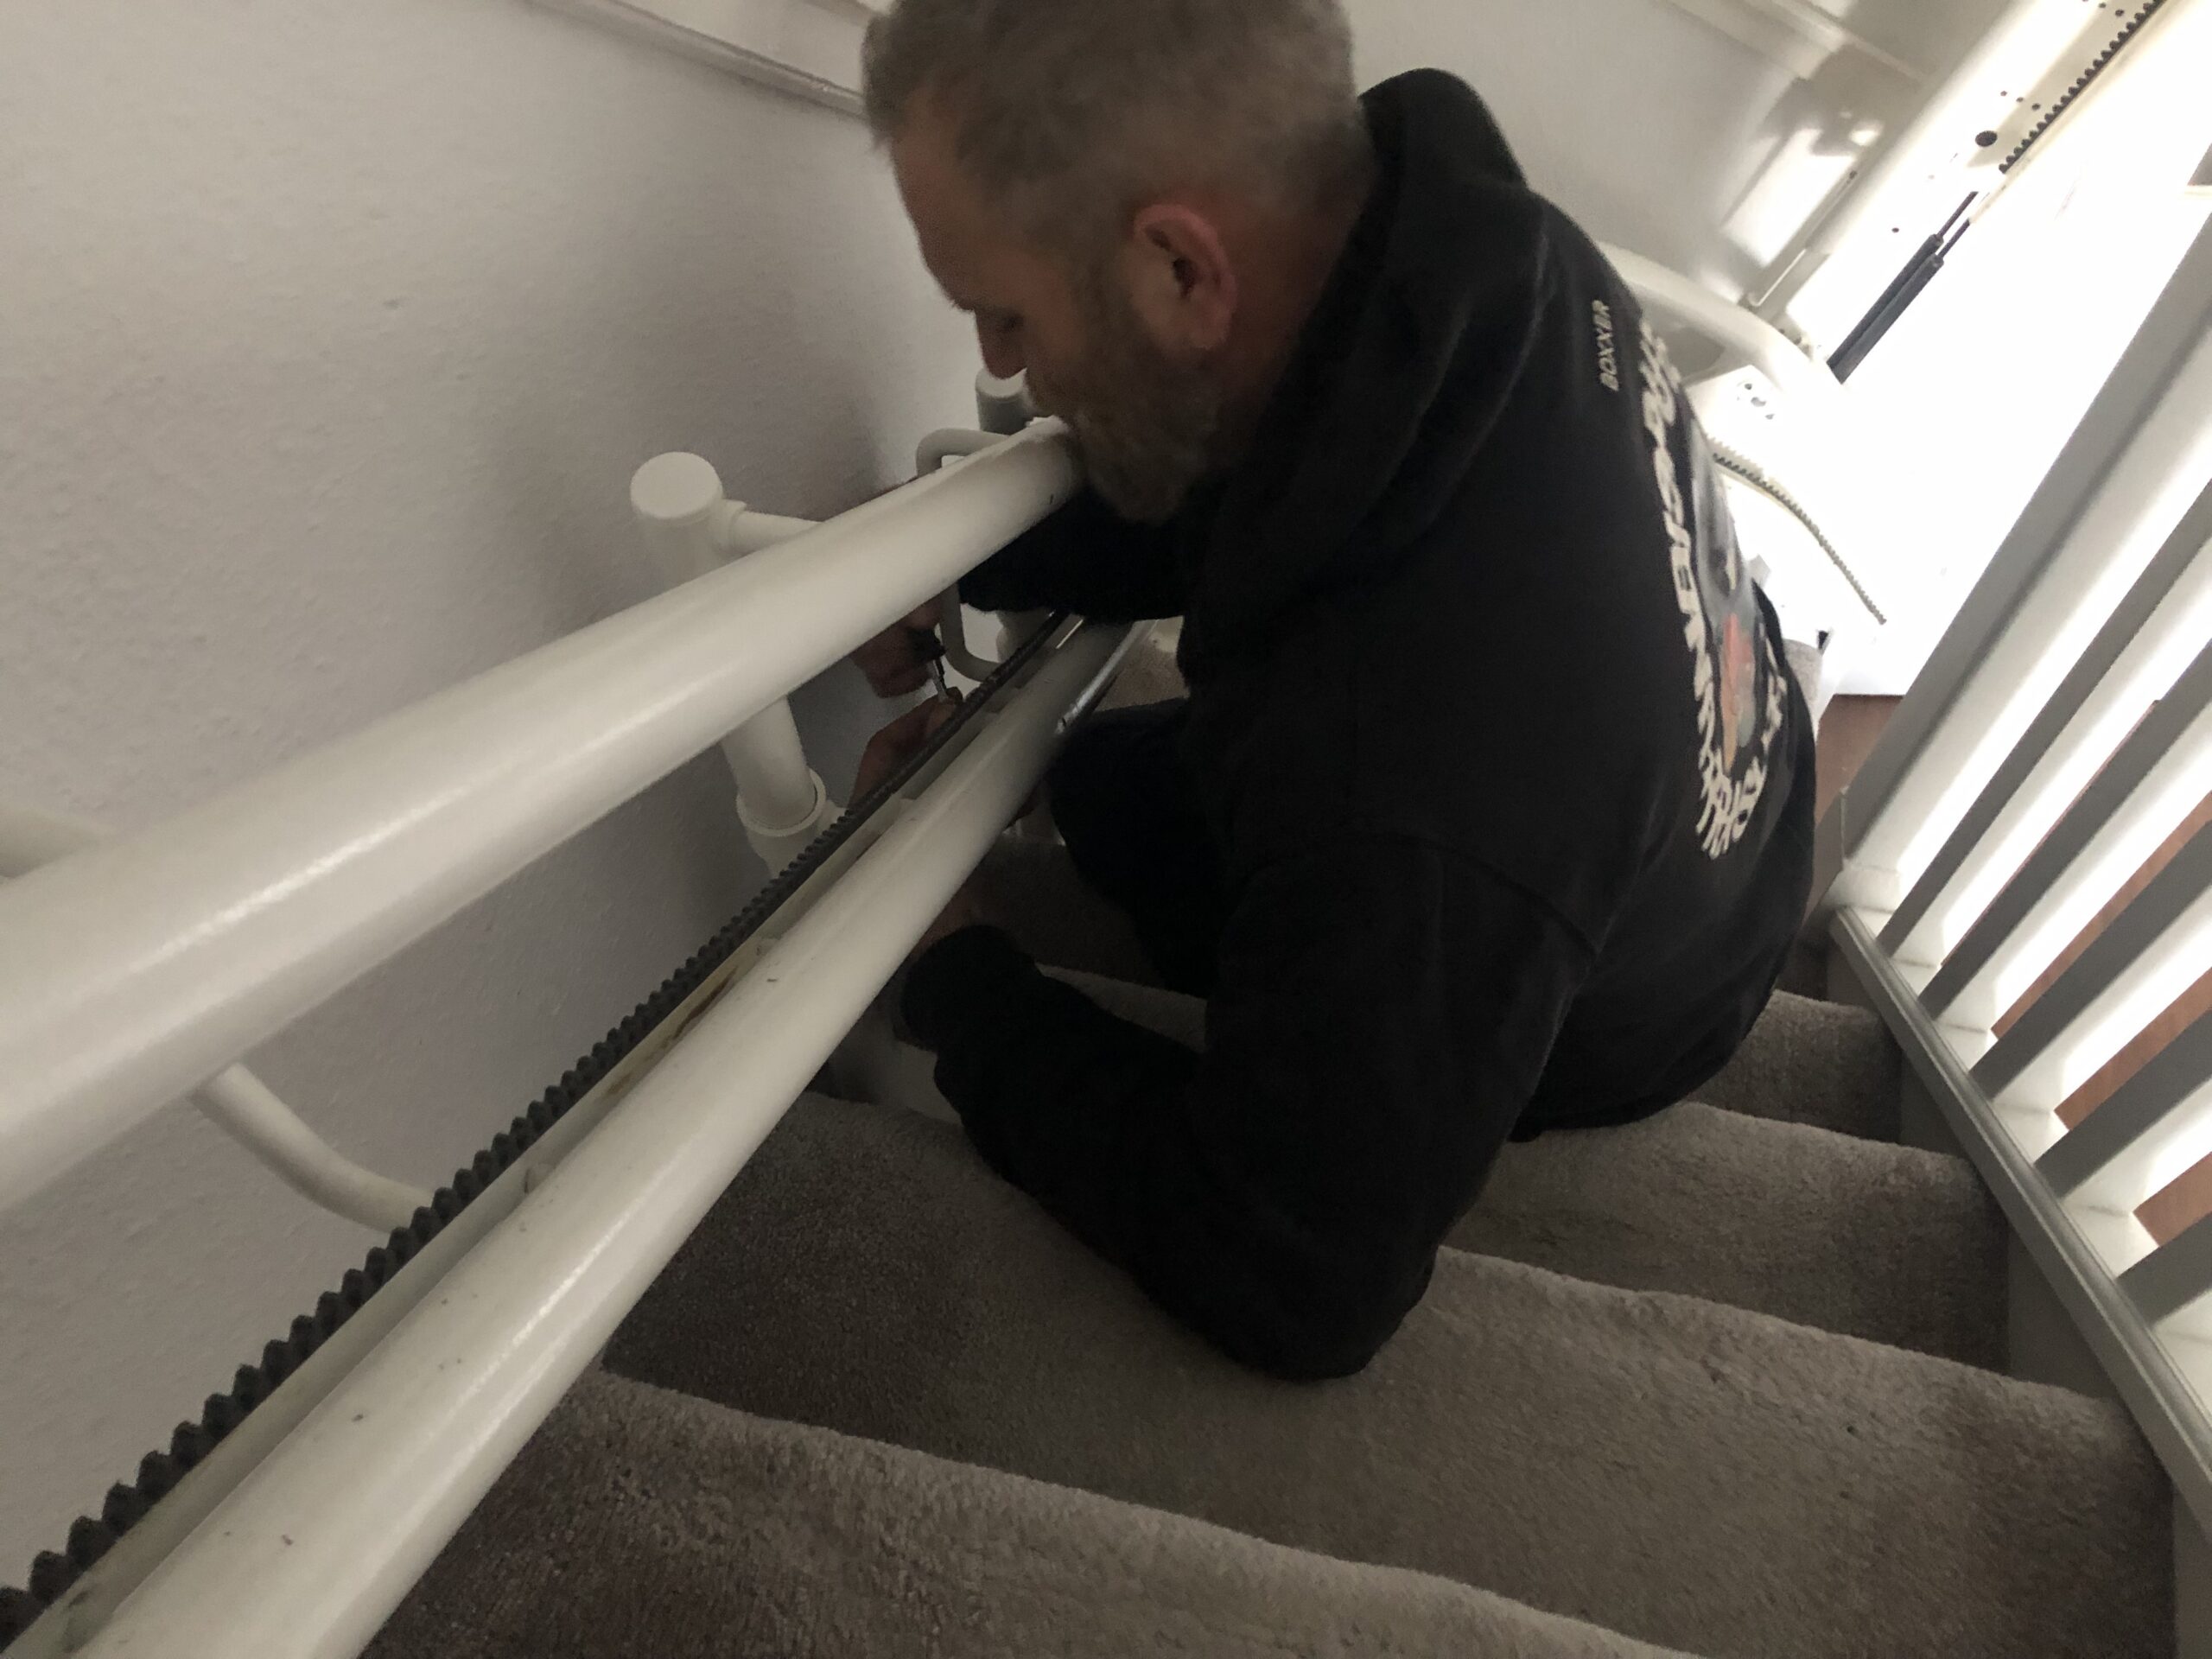
Removal requires you to remove the physical stopper at the end of the rail. This is a safety device to prevent the stairlift accidentally driving off the rail during use. Also remove the slowing/stopping ramp which is situated near the top of the rail.
With the stairlift removed you can dismantle the rail a section at a time. Sections are connected with pins and draw bolts (depending on your model). Make sure you remove all the connections first, before trying to separate the sections.
The rail is screwed into the stair treads, so you’ll need to unscrew each section and pull sections apart.
See our stairlift removal page if you would like a professional to help.